Stacey Santos
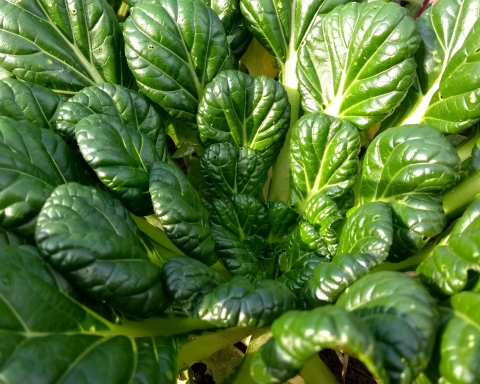
Since 2012, Niki Strutynski and her husband Nick Neisingh have grown organic mixed vegetables at Tatlo Road Farm, located south of Crofton on southern Vancouver Island. With years of experience working on other organic vegetable farms throughout BC, plus Niki’s degree in Agroecology from UBC, they have created a robust nutrient and nitrogen management program to boost their farm’s fertility and yields, carrying out a soil test every two to three years depending on the area.
In an episode of Organic BC’s Organic Innovation Series, Niki took viewers through the program, highlighting their system for tracking nutrients and making decisions around nutrient applications. To complement the learnings from Niki’s on-farm system, Josh Andrews from the BC Ministry of Agriculture and Food dove deeper into why nitrogen management is important, and took viewers through a “how to” of a post-harvest nitrogen test.
Nitrogen Management in a Nutshell
Because nitrogen is the nutrient that is most-used by crops, it’s the one farmers need to build in soil in the highest quantities. It’s also a tricky one! Nitrogen is fairly mobile in the soil and has a lot of different forms, so having it in the right form for the crop at the right time can be particularly difficult.
On one hand, you want to make sure crops have enough nitrogen available to achieve optimum growth and yield. You also don’t want to overapply, because during the rainy winter months nitrogen can actually leach into groundwater (which has been a problem in certain areas of the province). Ultimately, you want to control the amount of nitrogen you’re applying so there’s as little left over at the end of the growing season as possible.
With nitrogen management, we normally talk about the agronomic rate—the rate at which the crop gets just enough nitrogen for optimum growth, but not an excessive amount. You can think of it in terms of the four R’s: the Right Source at the Right Time using the Right Rate and applying it in the Right Place. If you follow these guidelines, you can generally get good growth and yield.
Nitrogen Sources to Consider
As you work to meet the agronomic rate for nitrogen application, the calculation is not as simple as figuring out how much nitrogen your crops need. You must take into account residual nitrogen, as well as other sources of nitrogen. Cover crops and fertilizers like feather or bone meal will all contribute to nitrogen in the soil and impact the amount of nitrogen you want to apply.
The amount of nitrogen in the soil at the beginning of the growing season depends on the region and the type of operation. Drier regions, like the Interior, might have more residual nitrate from the previous growing season because of less soil leaching. And while Tatlo Road Farm receives a lot of precipitation, their organically managed soils are probably getting a fair amount of nitrogen from mineralization of soil organic matter.
Developing a Nutrient Management Calculator
For Tatlo Road Farm, the practice of calculating nutrients goes back to their first year, when they had a soil test done through a local agriculture supply business. Soil tests will show the levels of different nutrients along with recommendations about what quantities of amendments to apply. The results for Tatlo Road Farm were mostly expected—low nitrogen, which is common after a rainy winter—however, the report also featured the lowest phosphorus results the agriculture supply business owner had ever seen.
At first, to save money, Niki and Nick applied only a portion of the recommended quantities and blanket applied it on the entire growing area. But after a season of low yields, they increased the quantities and only applied it to the beds. This helped tremendously, and moving forward, they took a more calculated approach to the amount and location of applied amendments.
To help nail down the numbers and cut down on wasted money and nutrients, they worked with a soil scientist to interpret the results of their soil tests and create a nutrient calculator spreadsheet. “We use a combination of products to meet our specific demands based on the soil test,” Niki explained. “If we were just to choose one standard NPK (Nitrogen-Phosphorus-Potassium) product it wouldn’t meet our demands. I might be either short on one or over-applying another.”
“Let’s say I need 27 pounds of fish meal to meet my nitrogen needs. I might go ahead and apply that, but if I do I might over apply phosphorus. So instead, I’m going to see what happens if I apply nine pounds of fish meal, and then [the calculator] tells me the amount still remaining that needs to be applied and met by something else.”
Soil Mapping and Nutrient Calculations
All of the soil on Vancouver Island was mapped in the 1970s, and you can still look at those maps today. They show five different types of soil converging on Tatlo Road Farm’s seven-acre property—an accurate assessment, as Niki can see and feel the soil transitions.
Niki and Nick test based on the different soil type areas. Using the test results, they feed the recommended pounds per acre per crop type into the spreadsheet, which then shows how much of a specific amendment product to apply.
The spreadsheet essentially includes the same columns as the lab results, with ideal ranges pulled from the BC Ministry of Agriculture and Food. Each tab in the file represents a different field or soil type area—one test for an entire area of fairly similar soil type and also potentially similar crops. From there, they can enter a suite of different amendments and figure out how much they need to apply on a bed per bed basis.
“We have this cheat sheet in our workshop,” said Niki. “Staff can look at it and go, ‘Oh, I’m amending a bed in field three. How many pounds of each thing do I need to mix together?’”
What Niki really likes about the spreadsheet is how she can change the quantities of the amendment. If the amendment changes, or if she tries a new product, it factors in how many pounds to apply.
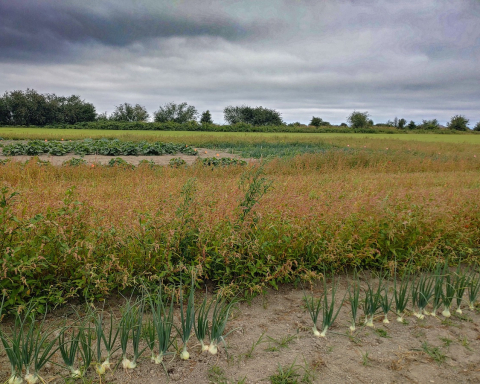
Cover Cropping
Tatlo Road Farm implements cover cropping wherever they can. Among the many benefits, cover crops take nitrogen up from the soil, fix nitrogen, and add other nutrients in the spring. As a bonus, because the farm doesn’t get snow cover, the cover crops also act as winter protection to minimize both leaching nutrients from the soil and compaction from the rains.
As Josh explained, “When you terminate the cover crop, it will supply nitrogen to [the summer] crop. We won’t say that 100% of the nitrogen in that crop will become available, but usually somewhere between 25% and 50% of it probably will. That can offset the amount of nitrogen fertilizer or supplemental nitrogen that you need to add for your summer crop.”
When they are not able to establish a cover crop in time for winter, Tatlo Road Farm uses tarps. Tarps help protect the soil from heavy rains and decrease the amount of nitrogen that leaches away over winter. When they pull the tarps off, the soil is “lovely” and ready to go, without needing to wait for cover crops to break down.
Post-Harvest Nitrogen Testing
At the end of the year, taking post-harvest nitrate tests will allow you to see how well you’re meeting the targets.
Post-harvest nitrate testing has two purposes: one is environmental, measuring the amount of nitrate that is susceptible to leaching during the dormant season, and the other is for the farmer’s own agronomic purposes, measuring whether too much or too little nitrogen was applied and how it affected yields.
The best time to do a post-harvest nitrate test is as soon as the crop comes off at the end of summer, or the beginning of early fall when all of the nitrogen in the soil that was going to become available to crops has become available. The timing depends on the region you’re in, but you need to do it before the nitrate is leached down through the soil profile. With coarse soils, you should test before 75mm of cumulative precipitation, and with finer soils before 125mm of cumulative precipitation.
Our soils can teach us so much about how to be better stewards of the land, and when we can listen and interpret the information held in those soils, they will in turn provide us with better yields. We hope Niki’s learnings at Tatlo Road Farm encourage you to dial in your own nutrient management systems!
How to Take a Soil Test
To obtain a soil sample, use a soil probe for the most uniform samples. Don’t have access to one? Ask your regional agrologist if you can borrow theirs! You’ll also need a bucket for mixing the samples together and a plastic baggie for sending your sample to the lab.
When taking samples, the first thing you want to do is divide the area into sampling zones with the same soil type, crop and management. For example, if you have a bunch of different rows of veggies you can group them together by their nutrient demand. Take about 15–30 samples throughout the sampling zone, tossing each sample into the bucket. Before bagging up around a pound of soil for the lab, mix and break up the samples as best as you can.
Learn more by watching our Organic Innovation Series: Nutrient and Nitrogen Management – Tatlo Road Farm: youtu.be/MAwrXt66KD0
BC Nutrient Calculator: nmp.apps.nrs.gov.bc.ca
Stacey Santos is the Communications Manager for Organic BC. She lives, writes and gardens in the beautiful and traditional territories of the Lekwungen peoples, who are now known as the Esquimalt and Songhees Nations.
This project was supported by the BC Climate Agri-Solutions Fund. Funding for the BC Climate Agri-Solutions Fund was provided by Agriculture and Agri-Food Canada through the Agricultural Climate Solutions – On-Farm Climate Action Fund.
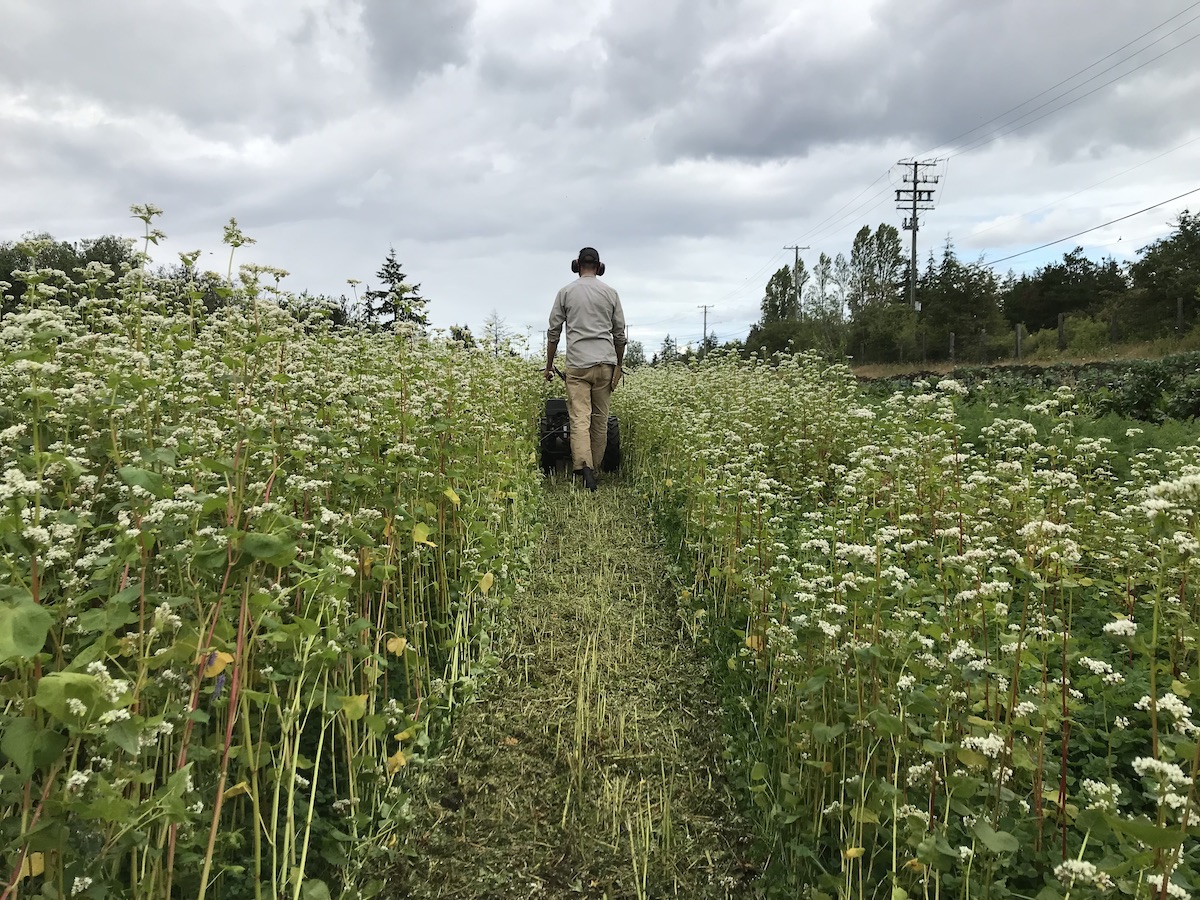
Featured image: Mowing buckwheat at Tatlo Road Farm. Credit: Tatlo Road Farm.